Saturday, July 6, 2013

3D Artiste Cartridge Greeting Card

This project uses several Close To My Heart products including the exclusive CTMH Cricut Artiste cartridge.  The inspiration for this card comes from a video I found online.  The video takes you step-by-step through assembly of the card.  This post is can also be seen on She's A Sassy Lady this week - I am very pleased to be a new member of Sheila's design team.

CTMH Supplies needed:

 1.  Cricut Artiste Cartridge (Z1790)
 2.  "Baroque Borders" Acrylix stamp (August 2012 S1208) note - since this was a stamp of the
       month, substitute another border stamp, such as "The Best Things" (C1503) if needed.
 3.  "Casual Expression - Occasions" Acrylix stamp (D1525)
 4.  "Scrapbook Statements Poets" Acrylix stamp (C1539)
 5.  "Family Love" Acrylix stamp (D1506)
 6.  Exclusive Inks - Desert Sand (Z2118)
 7.  Exclusive Inks -Twilight (Z2160)
 8.  4"x5" Acrylix stamp block (Y1012)
 9.  3"x3" Acrylix stamp block (Y1006)
10.  Sponge Daubers (Z726)
11.  Liquid Glass (Z679)
12.  Card stock - Desert Sand (1273)
13.  B&T Duos Paper - I used Florentine (X7153B) no longer available, sorry


Non-CTMH Supplies:

14.  Base card - 4 1/4"x 5 1/2" or similar (in this case I did not use a CTMH product)
15.  Adhesives of choice (ATG gun for card paper, glue dots for 3D decorations)
16.  Cricut Gypsy machine (optional)
17.  Cricut machine
18.  Craft scoring board

To make the card:

1.  Using your Gypsy (or inputting directly into your Cricut machine if you prefer), find the designs
     on the CTMH Cricut Artiste cartridge needed for this project:
     a.  Emblem - p. 63, "Card" setting - (row 4, column 3) height 2"
     b.  Double fan - p. 50, "3D" <s> setting - (row 2, column 10) height 1 1/2" (note - make
          TWO of these, as indicated in the cartridge workbook, in order to make a circular "fan")

Gypsy with pattern for 2 cards

Layout on mat, ready to cut.
Note grid used to check paper is aligned properly.

2.  Cut card stock to allow for a 1/8" or 1/4" border on the front of the card, your choice - measure
     your card to determine the correct size for the card stock to be cut.

3.a.  Ink up border stamp with desert sand ink and apply to cut desert sand card stock.
   b.  Distress edges of card stock with desert sand ink using sponge dauber.
   c.  Affix card stock to front of card and distress edges of card front with  desert sand ink using
       sponge dauber.

When using a big stamp, I bring the ink TO the stamp,
decreasing the potential for ink overlap on the acrylic block

Distress edges with desert sand ink

Distress card edges with desert sand ink

Whenever possible, I make TWO cards
4.  Ink up "Celebrate Today" stamp with desert sand ink, then QUICKLY roll edges ("Rock and Roll"
     method) with Twilight ink and apply to emblem cut out.  Doing this quickly prevents the first ink
     from "beading up" and looking "dotty" on the stamp.

Stamp on right shows ink "beading" - I was too slow!
5.a.  Fold 3D shape on fan folds.  Using a scoring mat and bone folder to LIGHTLY score the folds
        will help keep the folds straight and precise.  A little extra time to take this step will save
        having to re-cut the fan if folds do not turn out nicely when "free-folded".

Using a bone folder saves my fingers!

See - two little accordions!

   b.  Secure the ends of the two fans together using Liquid Glass (Z679).  It dries very quickly, so
        be careful to place the sections exactly where you want them and hold for about 10 seconds.


6.  When the fan has dried, place 3 or 4 glue dots on the face of the card and press the opened fan
     on to the front and center firmly, while at the same time being careful not to press down the folds
     of the fan.


7.  Adhere more glue dots to the back of the emblem and place it firmly on the front of the fan.


8.  Two finished cards - front and inside.  One will be for a birthday, one for an anniversary.

The emblem on the right is centered - the photo just looks off center

Birthday sentiment from "Scrapbook Statements Poets"

Anniversary sentiment from "Family Love"

Thanks for joining me for this project.  If you have any questions, please send me a note.  Have a wonderful summer!

Saturday, June 29, 2013

Summer Birthday Cards

Summer birthdays are fast approaching.  Here are two cards for my grandchildren.
Jessie is a layered card from the Cricut "Toy Story" cartridge
Sentiments are from CTMH stamps 

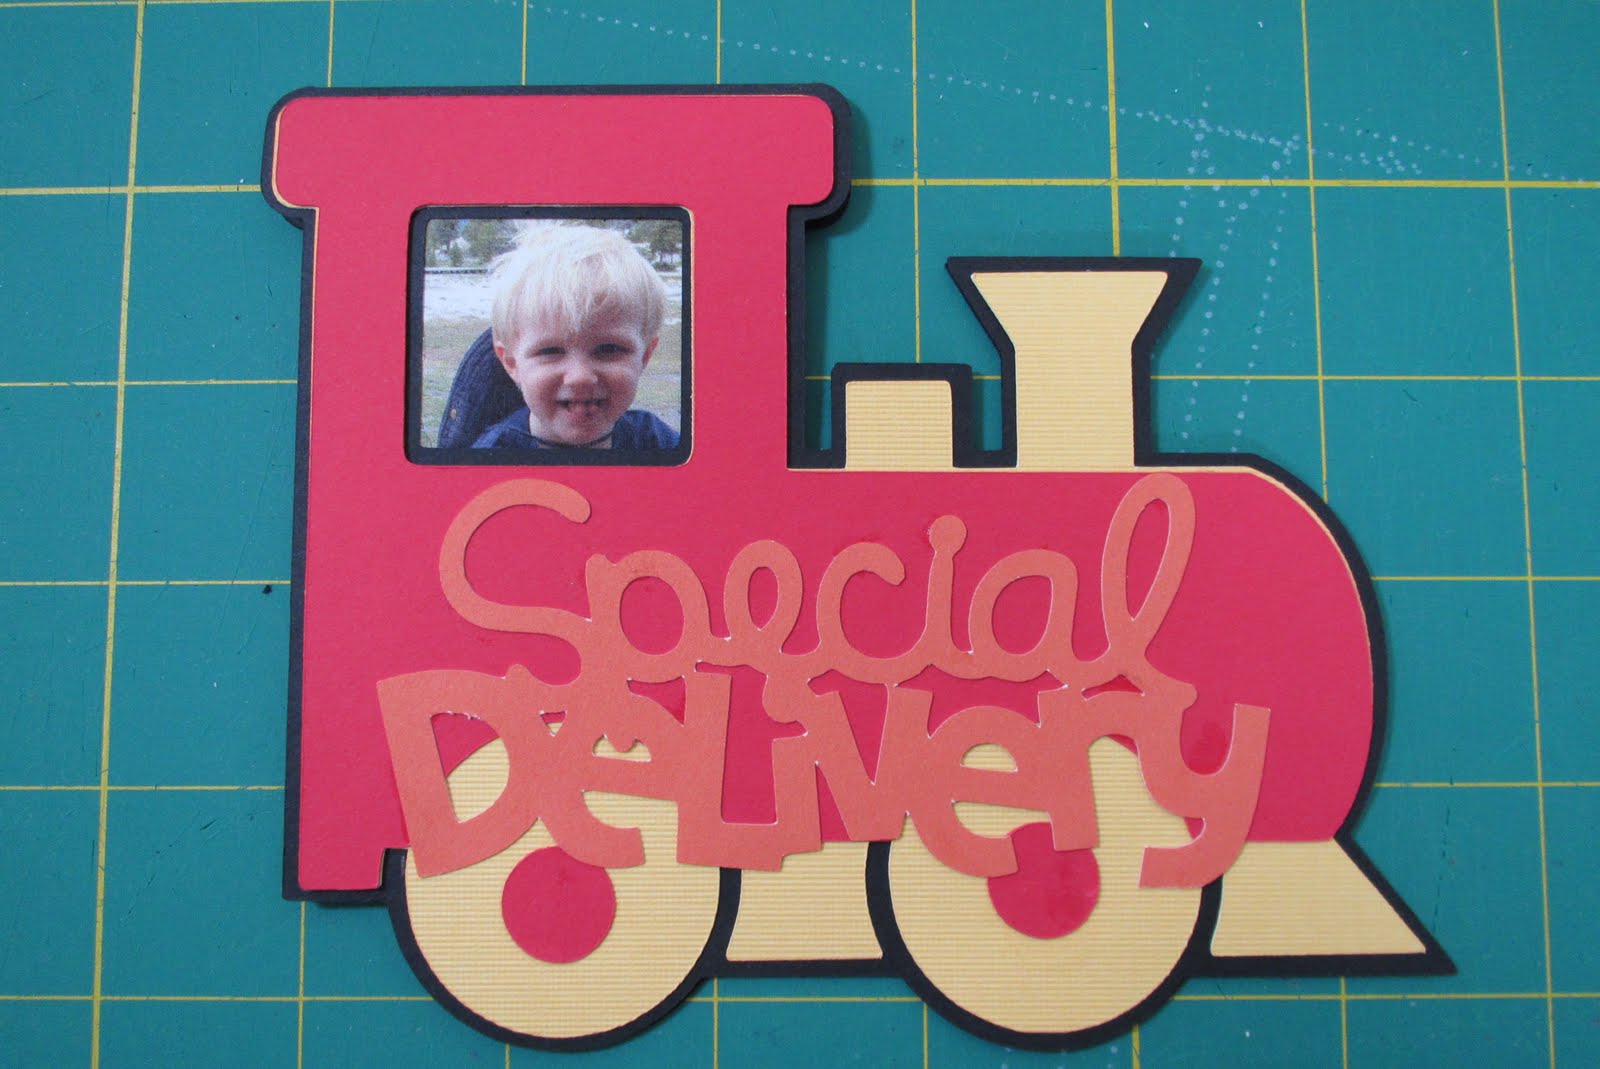
This little train is from the Cricut "Mickey and Friends" cartridge -
with a VERY special engineer!

Sentiments are from CTMH stamps
Thanks for looking at these cute projects.  If you have any questions, feel free to ask.  Enjoy your summer!
Friday, June 14, 2013

Happy Father's Day!

Father's Day is nearly here - so I thought it would be nice to post my card pictures a couple of days early for a change.  Materials used for this project include:
Papers:  "Tommy" selections
Inks:  Saddle, Cranberry, Lagoon
Hardware/Software:  Cricut Expression and Artiste Cartridge
Stamps:  Scrapbook Statements Poets (C1539); Perfect Fit - Dad (C1542)

There was a stamp for "DAD" but none for the others, so they
were all printed out using the Cricut Artiste cartridge font.


The finished card fronts.

For my special guy!

Poet sayings...

Emerson is a smart cookie...

For the dreamer in the family...

Two cards used the same sentiment, so I did not show it again.  Thanks for looking and have a blessed day.

Wednesday, June 12, 2013

Greeting Cards for Mother's Day

Yes, I am catching up on my posts.  Once again, these cards were created with CTMH supplies.  Everything I need to make beautiful cards is available in either CTMH papers, inks, stamps, embellishments - sometimes even ideas.  These cards were made with the Chantilly "Workshop on the Go" Card pack (available through my consultant page).  I used the Cricut Artiste cartridge (a CTMH exclusive) to make the center emblem on the front, as well as the die cuts used inside.  All the stamps are from CTMH.

Emblem from Cricut Artiste

Sunburst stamped with Sunflower

Lagoon colored paper stamped with lagoon colored ink

Wing added to bird with pop-dots - two separate stamps included in set!

Finished cards for my four special ladies - all wonderful mothers.
The women in my life all reflect the wonderful skills my mother and grandmothers demonstrated in their lives for and with other people.  They lived through an era of service - their family was what was important to them.  Thanks for looking.

Tuesday, June 11, 2013

Greeting Cards - Birthdays, Easter and more!

Here are two examples of how the same card can be used for two purposes.  The papers and embellishments are from a Close To My Heart (CTMH) Avonlea "Workshop On The Go".  The sentiments are also CTMH acrylic stamps.  NOTE:  "Click" on any picture to enlarge it for a closer look.

The first card is a birthday card:


The second card is a sympathy card:

Same exact card design on front

Different sentiment inside
For Easter, I made several cards:

CTMH papers and stamps, Copic pens

CTMH stamps and sentiments

Copic pen to color this lily

Bunny from Cricut "Create A Critter" cartridge

Girl Bunny has a pink flower!
A whole basket of flowers inside!
Hope you enjoy this collection of spring cards.


Saturday, June 8, 2013

Crafty Stuff Update

It has been a while since I posted some pictures of crafts I have made.  Here are a few things I have finished lately.  We have a grand niece - my sister's first grandchild.  So of course, many things have been made for her!
Cute little bonnet

Bonnet modeled by my Teddy Bear

Matching crocheted carriage blanket "Pound of Love" Lion Brand yarn


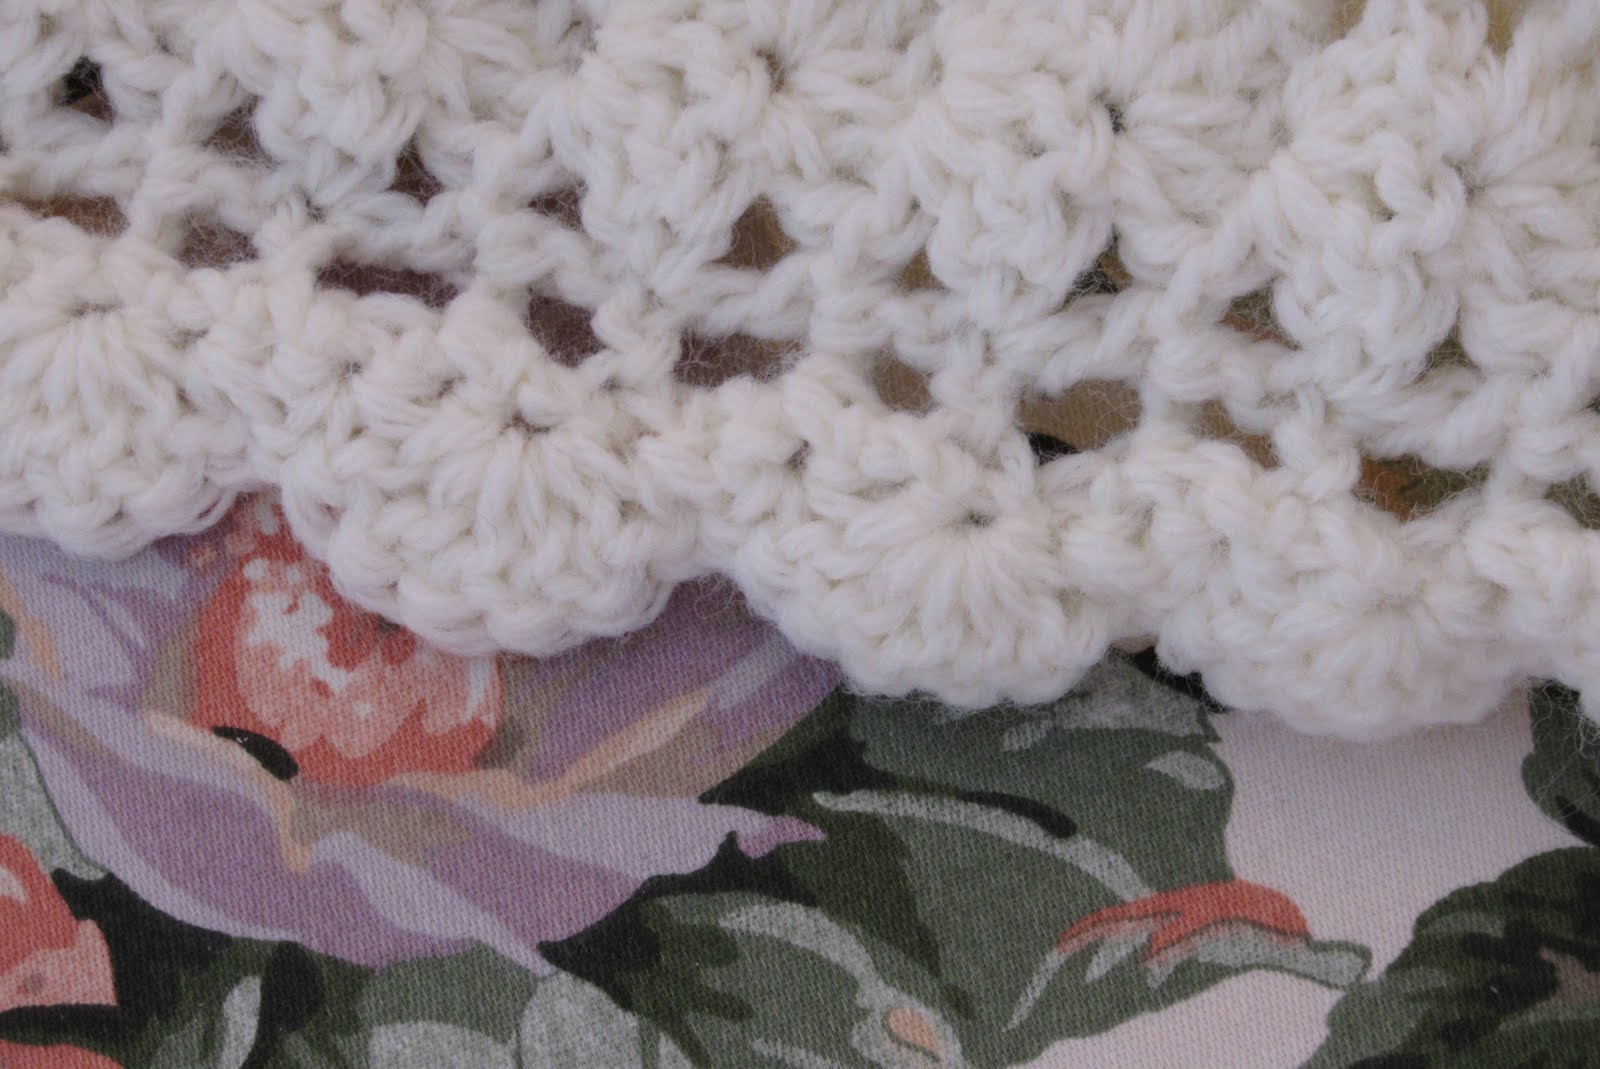
Detail on blanket

Edging of blanket

Detail of fan stitch

  
Booties of Berroco Suede Yarn


Bonnet - same pattern as the one in cream color above


Crocheted Cocoon
Teddy models the bonnet and cocoon 

Sweet little sweater

Sweater detail


 I had plenty of yarn left over, so I made another carriage blanket with the peach and orange yarn.

Blanket

Edge detail

A scarf for my daughter

New hat for my grandson - "Hometown" yarn (LB)

Another hat for my grandson
 These are the latest booties for a friend who is having TWINS.  The soles are made from the last of the Berroco Suede yarn.  The "uppers" are made from Aslan Trends Guanaro (green) and Ivernal (red).  Both work very well, as will any sport or worsted weight yarn. 


It HAS been a long time since I posted pictures of projects.  These are Christmas presents for family.  In my defense, I do not like posting pictures of gifts before the holiday, ha-ha!
Fleece jacket for my grandson

Fleece jacket for my granddaughter

Scarves for the men

Detail
Detail
Fun scarf
John Deere Christmas shirt for grandson
Cuff detail
Scarves for the ladies
Bubbles
I kept this one
This looks rose-y although it is more red
 That is all for now.  Thanks for looking at all my crafts.  I'll work at putting things up here more often so it won't be overwhelmed with photos.