More Winter Birthdays
Winter days are hard upon us - a good time for making lots of colorful
cards to brighten up gloomy days. Both of these cards are made using
the Close To My Heart Artfully Sent Cartridge (Z3168).
This first card is on p.25. Other CTMH supplies used include:
Clear Sparkles (Z1752)
Free To Be Me Papers (retired)
Lagoon (X5762) and White Daisy (1385) Cardstock
Stamp - "4 My Friend" (retired)
Glitter Gel (retired)
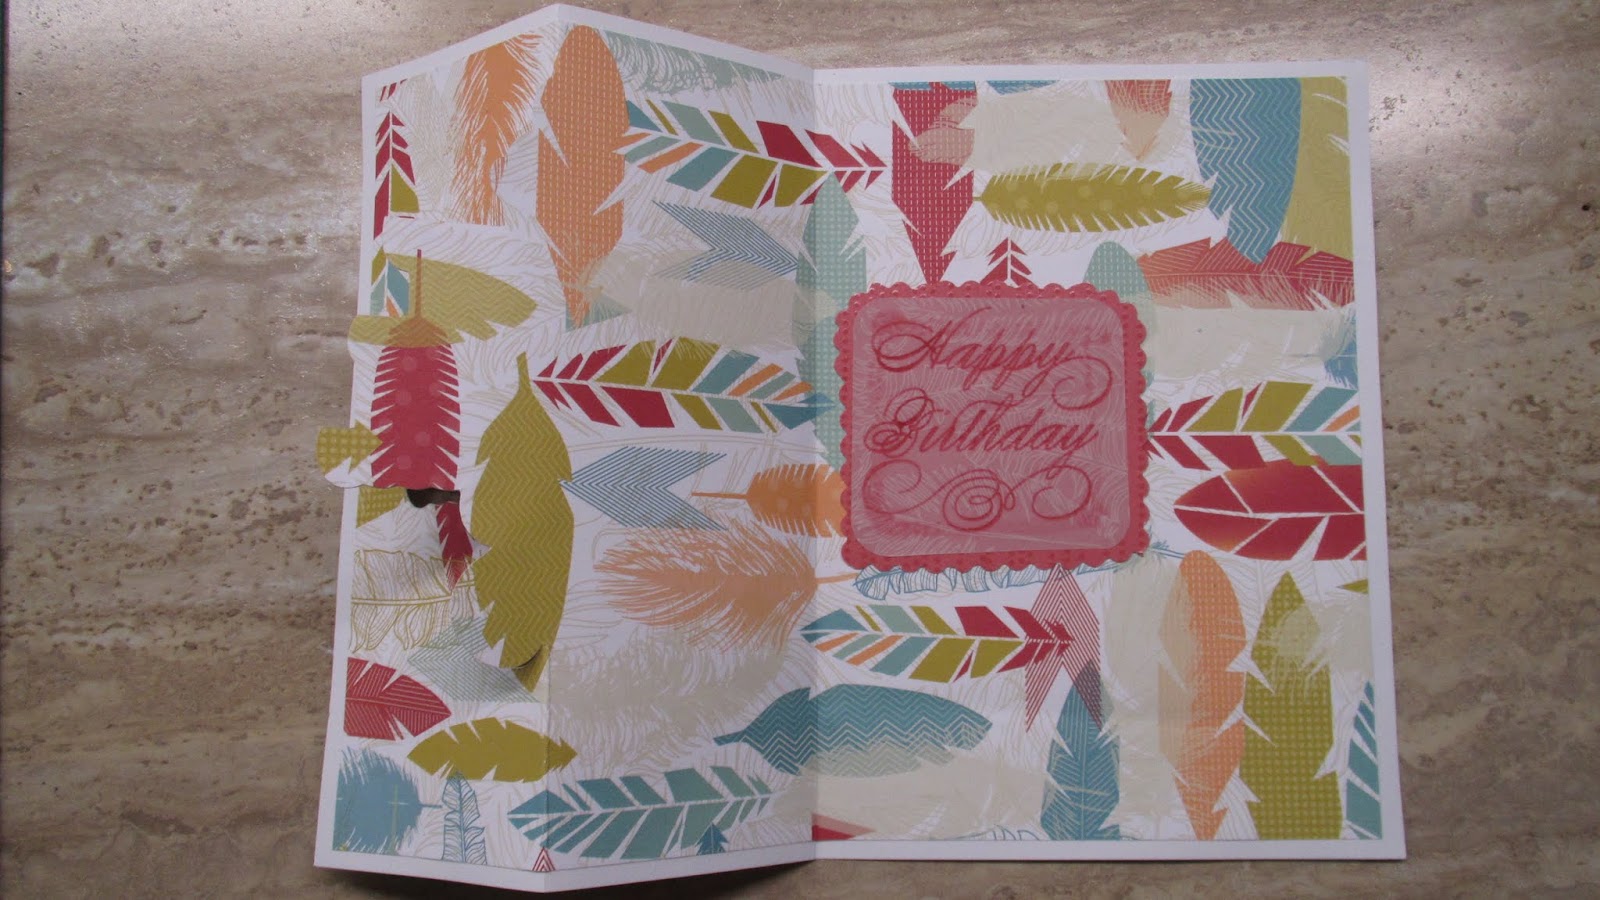
For the cover, cut 2 of the base scene - one from the white and one from the colorful paper. Cut 1/8-1/4" margins on all four sides (I used 3/8") of the colored paper to create interest. Glue the two layers together, making sure to line up the cut sections and folds. Cut the "Happy Birthday" Cake, line it up and glue it to the front of the card. Embellish it with glitter, sparkles, and contrasting paper under the cake "layers".
The inside of the card is a simple greeting, offset to show only when the card is opened.
The second card is on p.7. Other CTMH supplies used include:
Artfully Sent Stamp "Just To Say" (D1629)
Thistle (Z2640) and Lagoon (Z2195) Inks
Confetti Wishes Paper and Compliments (retired)
Glitter Gel (retired)
White Daisy Cardstock (1385)
Cut an extra cupcake out of a contrasting color using the "scene" layer (same layer as base card). Use a small piece of scrap that covers the area of the cupcake. Trace and trim the 1/2 that doesn't get cut on the Cricut. Make sure the cupcake is placed on the front of the card to exactly cover the base cupcake. OR - leave it the plain base color and fuggedaboud this step, hah!
Cut half the scene layer using a contrasting paper for the flip-side of the scene card, again using the scene base card. You can cut the entire card, if you want, then slice off the half that won't be used or measure to cut just the front half. Again, glue the two layers together, matching cuts and folds. Embellish the cupcake to bring out the stars on the "icing".
Make the white card and stamp around the edges, alternating ink colors and sentiments, "Happy Birthday" and "It's Time To Celebrate". Embellish by putting scrap paper in back of the cut out stars and compliments on the card.
Here's the completed card, ready for our cute little grand-niece. She'll have fun opening this.
Thanks for following along on these projects. Enjoy them and let me know if you have questions or comments. See you next month!
Blessings,
Luke 12:22-31


1 comment:
Love these too! I used that same cut with the Free to Be Me paper... yours is awesome! I really love that paper pack... wish we could get more! Have a great day!
Post a Comment