Tuesday, May 13, 2014

Easter Fun

While this is a bit late for THIS year's Easter celebration, these ideas will still work in years to come.

Supplies used:

Lollydoodle Cardmaking Workshop On The Go (G1080)
"Be Still" Stamp (A1141)
"Faith, Hope, Love, Peace, Joy" Stamps (retired)
White Daisy (1385) and Colonial White (1388) Cardstock
K&H Embellishments
Sure Cuts A-Lot (SCAL) Computer program

The Lollydoodle cardmaking kit comes with a nice set of stamps.  By using some of them, combined with more "Easter-oriented" theme stamps, I was able to use some of the Lollydoodle cards for Easter.

Cardmaking kit in progress


Finished card with Easter sentiment

Finished card using Lollydoodle kit stamps

Inside of card for Easter


For the grandchildren, I used the  SCAL program to create bunnies and words for the bunny cards.
Screen View

Computer connects to Cricut machine, just like Cricut programs
The SCAL program only works with older Cricut machines.  This is the first time I've used it and I was very pleased with the results.  The program is intuitive, very similar to using a Gypsy or one of the other Cricut proprietary software programs.
Bunny before "bling"

Dressed up in style for my grandloves!
Finished Bunny cards used K&H embellishments and retired CTMH stamping on the inside.

The finished Lollydoodle cards have 3 variations.  They are all very bright and perfect for Spring celebrations.
The card on the right was perfect for my husband's Easter card

If you have any questions about this project, please contact me and I will do my best to answer them.  Blessings for a beautiful Spring!  "He Is Risen, Indeed!"  Adrienne


Monday, May 5, 2014

Variation on a Theme

Ivy Lane Papers

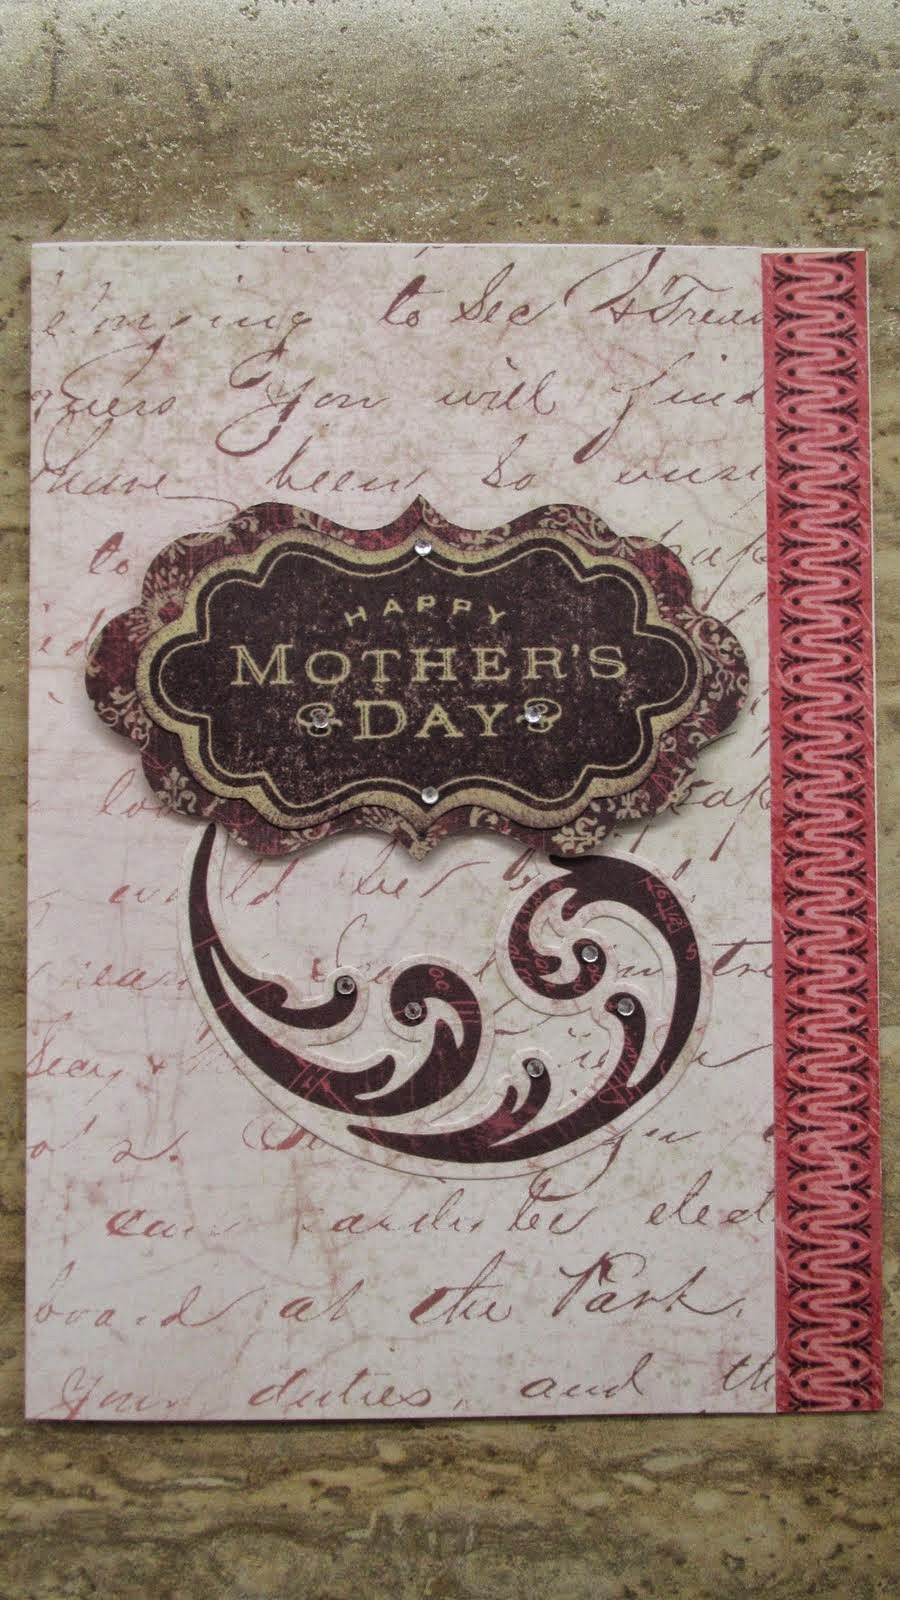
Last month I showed you the lovely box with 5 cards I made in a workshop.  This month, I made several more of those boxes and cards to give as Mother's Day gifts.  To stay in the theme, I used some of the leftover papers to create Mother's Day cards.

Supplies used:

Ivy Lane Paper Pack (X7178B)
Ivy Lane Complements (X7178C)
Look To The Light Occasions Stamp (B1428)
Perfect Fit - Mom Holiday Stamp (C1543)
Bitty Sparkles (Z1263)
Cricut Artiste Cartridge (Z1790)

The Artiste cartridge was used to cut the stamp shape and background frame.  Accent 3 Row 1 Column 3 at 1 1/2 and 1 3/4 height, using real dial size.  the inside sentiment is from the "Look to the Light" collection.

The final collection was combined with this card to send to my family "moms".

Although my own mom has left this mortal coil, I enjoy sharing these beautiful cards with loved ones still here.  May you all have a blessed Mother's Day.

Tuesday, April 8, 2014

A Box of Inspiration

Last week I went to a workshop hosted by Gina Brandstetter.  We made these great boxes and filled them with five different cards stamped with Bible inspirations from the "Look To The Light" collection (B1428).  Supplies needed:

Colonial White Cards and Envelopes (Value Pack - X1410)
Journaling Box (Z1953)
Ivy Lane Paper Pack (X7178B)
Ivy Lane Complements (X7178C)
Bitty Sparkles (Z1263)
Bamboo Ink (Z2103)
Smokey Plum Ink (Z2147)
Look To The Light Stamp (B1428)


Ivy Lane Complements (X7178C)
Ivy Lane Paper Pack (X7178B)

Look To The Light Stamp (B1428)
The measurements for folding paper to cover the journaling box are here

The cricut cuts are as follows:
"I CAN DO ALL THINGS...." - Ivy Lane Purple Cardstock - Artiste 2 1/2" Accent 1 <I LOVE YOU>
Bamboo Cardstock - Artiste  2 1/4" Accent 1 <I LOVE YOU>
"Come Unto Me......"   Art Philosophy - 1 1/4" <Shape3>


I don't have measurements for the papers on the cards or for the paper backing for the "flower" on the box.  When making new cards, I'll have to "wing it".

Pictures of the completed project:
Covered Journaling Box, to hold cards
"Come Unto Me All Who Labor"

"Cast Thy Burden Upon The Lord"

"I Can Do All Things Through Christ"

"God Is Our Refuge and Strength"

"Thy Word Is a Lamp Unto My Feet"
The Collection
This project was lots of fun.  Since all the paper pieces were pre-cut for us, the entire project took 2 hours.  When figuring out all the measurements and creating the pieces "from scratch" it will likely take double the time.  I have ordered all the supplies to make MORE of these great little boxes and fill them with cards - they will be terrific gifts!

Thanks for joining me on this project.  Enjoy Spring, create something wonderful every day!  Blessings, Adrienne

Friday, April 4, 2014

Days of Spring and a Facelift

Spring is certainly making an appearance - every day new blossoms shoot up, trees are leafing out and our GRASS is growing.  It seems folks can't WAIT to get out on their riding lawn mowers.

For quite awhile, now, I've been longing to clean up my craft room and I finally did it!  Our local cabinet maker Larry fixed me up with a GREAT set of cabinets.  Yesterday, my new HON task chair (sits higher than a regular desk chair) arrived from Costco and now I'm STYLIN'.  Here's what the room looked like in January:

The OLD Look
This is a view of the same wall this morning:

The NEW Look!
Yes, I realize it's a mess - but WHAT a mess!  To the left, the lower cabinets have 2 roll out shelves that hold my Cricut machine, cartridges, and 3 large organizers full of CTMH stamps.  The four drawers to the right hold my paper supplies, watercolors, and assorted implements of construction.  The upper cabinets go all the way to the ceiling, holding books, ink pads, scrapbooking papers and sets, my little crafting sewing machine, fabric, more painting supplies (paint box, drawing paper).  The cabinets at the VERY top hold extra things I couldn't bear to part with, but really don't need right now - and a bunch of plaques from awards at work, ha-ha!

NOW all I have to do is decide whether to leave the old white tables in the middle of the room (right now my new cutting board - 5' x 3' - is relaxing on one) or find another place for them.  Since my husband immediately covered the top table (the other one is a "typewriter return" on wheels that nests under the main table) with assorted cables, computer parts and "guy stuff", I suspect it may stay there!

I know you all are as excited as I am with all this new storage and a great work space.  Next up - custom made bookcase with sliding doors for the little cubby room that is my sewing haven!  Thanks for looking.  Adrienne

Tuesday, March 11, 2014

Birthdays Are Special at Any Age


Now that we are grandparents, it is more of a challenge to come up with interesting cards for our "children" who are into their 40's (sh-h-h, don't tell them - they still think they're teenagers!) and parents themselves.  Here is a bright card I made for our daughter's birthday using papers from the Lola Workshop On The Go.  That collection isn't available per se, although Lola papers and embellishments ARE available.  Ink colors are outdoor denim and black.  I distressed the edges of the papers used on the card front and sponged the white with denim ink. These links will take you to my Close To My Heart website where all the products may be purchased.

The inside of the card uses the "Birthday Cheer" stamp.  This was my first attempt at coloring with my Copic pens and I was VERY excited about using them.  I'd list the colors, except I used so MANY!  In all, the card turned out very well - and my daughter liked it!


Thanks for joining me on this project.  Blessings, Adrienne  Psalm 8

Friday, February 14, 2014

Be My Valentine


Here is one more card for today.  This one is for my sweetie.  Close to My Heart supplies used include:
The heart was sponged with cranberry ink, then covered with red glitter.  The top piece was sponged on the edges with cranberry ink, which was also used 2nd and 3rd generation to stamp the bottom 3rd of the card using the Pemberley leaf stamp.  Inside the card, a tried and true sentiment, also from the Pemberley set:


With best wishes to everyone for a blessed Valentine's Day.  Adrienne

Tuesday, February 11, 2014

The Tax Man Cometh... Soon

January and February are supposed to be months for catching up and catching one's breath.  Well, THAT didn't happen around here.  The minute the new year begins, papers start flying in preparation for (gulp) taxes, which means number crunching and less time for playing in the craft room!

Here are the cards I made for Valentine's Day this year for my grandchildren, using the Spring Holiday Card Cartridge (from 2011, still available on some websites).  I cut them both at 4.3" high and also cut the white backs at 4.3" high.  These were very simple cards to make and I know the children will be delighted with them.

For the "grown ups", I made a different card using the Paper Lace cartridge.  I also embossed the card base with my Sizzix and various embossing folders.

 Using a sponge dauber (Z726), I inked the edges with cranberry (Z116).  The inside greeting is simply "Happy Valentine's Day" from last year's CTMH January Stamp of the Month (retired).

Thanks for joining me on this project.  If you have any questions or comments, please share them with me.  Adrienne

Tuesday, January 14, 2014

I'm On Cloud Nine


January heralds the beginning of the promise of Spring.  Although there are a few more months of winter, that promise is out there, under the frost line.  Just like there are clean work surfaces under the explosion that happened in my craft room over the holidays.


"The Miami Sound Machine exploded all over here"
Once I got the tissue paper and greeting cards put away, I was ready to get down to work.  January is ALSO National Papercrafting Month and Close To My Heart is celebrating with a special Cloud Nine cardmaking kit (CC1026).  The exclusive Cloud Nine cardmaking kit is $15 (retail value $46) with a qualifying purchase of $35 or more (excluding tax and shipping) during January in celebration of National Papercrafting Month.

Cloud Nine Cardmaking Kit
 The kit makes 10 adorable cards (2 each of 5 designs).  It includes everything needed except Exclusive stamping inks - Sunset (Z2191) and Lagoon (Z2195)

As with all CTMH kits, instructions are provided for cutting paper, stamping and placing embellishments.

Cutting and assembly instructions

The base shapes (die cuts) used under the stamps are provided on a pre-cut page, which is nice.  These die cut shapes may also be found on the Cricut Artiste cartridge (Z1790) for future projects.

Cricut Artiste shape information
The sizes and page notes are provided on the stamp sheet, although I have found in the past it is a good idea to double check sizes for accurate fit.

Putting it all together
 Once all the pieces are cut and stamped, it's time for assembly using your adhesive of choice.  Most of the time, I really like my ATG "gun".  For this card, I also used some little 3D squares to raise the stamped sentiment and make it "pop".
Finished Card


There are four more cards in this collection - come back to visit, they may show up in another post.  Thanks for joining me on this project.  If you have any questions or comments, please share them with me.  Adrienne

Tuesday, December 10, 2013

Greetings of the Season

Pear and Partridge Cards
The days grow shorter and so does the time to get ready for Christmas.  This Workshop On The Go from Close To My Heart is from last year's holiday collection and no longer available.  It is so beautiful, though, I wanted to share it anyway.  There are many other wonderful seasonal workshops available in both the regular Idea Book and the Holiday Gift Guide.  As in most of the workshops, all materials are included except the inks needed to complete 15 cards.
Here are the items from the workshop - papers, ribbon, "bling", stamps, and guide for paper cutting, stamping and assembly of cards.
Here are all the pieces of all the cards cut out and ready to stamp and assemble.
 A view of one of the pages of directions - very clear and easy to follow.  ALL the workshops are like this - that's why I like them.
 Three colors of ink were used on this project - cranberry, cocoa and olive.  Edges of all pieces were also daubed with cocoa ink.
This card uses the technique of masking part of the stamp and placing the extra piece on top with 3-D foam.
These little stamps are so delicate - I just love the way this card turned out!
One stamp was used over and over to make the background on this card.  S-s-s-h-h-h, don't tell, I didn't stamp underneath where the red piece covers.

Hope you all enjoy this project.  Wishing everyone peace, joy and love during this season.  Blessings all year long.  Adrienne

Tuesday, November 12, 2013

Laughing Lola Cards


This Close To My Heart Workshops On The Go (WOTG) is the "Laughing Lola" design (G1064).  The colors are vibrant, the kit comes complete with all the cards, papers, stamps and embellishments needed to make 15 beautiful cards.


Additional supplies needed are listed in the cardmaking guide included with the kit.  Mainly, you will need inks, acrylic blocks, CTMH Cricut Artiste cartridge (Z1790), sanding (distressing) supplies and adhesive, including 3-D dots or tape.  If you don't have the Artiste cartridge, there are other cartridges that have hearts, emblems and banners that may approximate the shapes needed for these cards.  As you can see from the cards above, though, the stamps fit perfectly on the Artiste cuts.


The cardmaking guide is very detailed, so there are only a few notes to add to what is included.  I found the instructions for the Cricut cuts to be somewhat vague. 


Accent 1 is on Accent 3, R1, C3 (on the keypad) - cut at 1.75" (H)
Accent 2 is on Accent 4 <s>, R5, C6 - cut at 1.5" (H)
Accent 3 is on Accent 2, R1, C5 - cut at .75" (H)


Additionally, the measurement provided for the heart cut is incorrect.  It is given as 1.5" (H) cut (that is also what is noted on the sheet of stamps).  That cut is too small.  In order to be big enough for the heart stamp ("Thinking of You"), the cut must be made at 2.24" (H) x 1.9" (W), using the heart on p. 66 of the Artiste guide book (Accent 1 <s>, R4, C6).


Once all the pieces and shapes are cut out, the smaller detail pieces are to be sanded on all edges:


My assistant Smokey was very helpful during this portion of the project.  I think she was just hungry and wanted supper, HAH!

Stamping the sentiments and shapes was next.  Since I didn't have Pear ink (recommended in the materials list), I used Sweet Leaf instead and it looks great!


Here is one of each of the final cards.  They turned out so well, I gave the "You Can Never Have Too Much Happy" one to my girlfriend today for her birthday.  "OOOH - PURPLE!" she exclaimed when she opened it.  Now who could ask for anything more?

Here is an example of varying the "look" of the cards by taking advantage of the double sided paper and turning it over:


Thanks for joining me for this project.  If you have any questions, do send me a note.  Here's sending everyone blessings for a bountiful Thanksgiving.  Adrienne